

Monday, April 30, 2012
Tuesday, April 24, 2012
Canadian thistles - a pain in my garden
Warning - blog under construction. These are not the final colors - playing with layout and templates.
 |
| A thistle hiding in the grass. |
When I was a kid on the farm, my brothers and I mowed the lawn every week, but other than that, didn't think much of lawn care. That is to say, dandelions and other weeds were allowed to grow as they liked. This meant of course, that walking barefoot in the summer grass required careful observation to avoid yelling out the childhood expletive “THISTLE!” after trodding on one of the thorny plants that hiding in the long grass.
The other day I was listening to garden talk on Wisconsin Public radio with host Larry Meiller and guest Neil Diboll from Prairie Nursery in Westfield, Wis.
They were discussing some of the early weeds that appear in people's gardens, and Neil mentioned the thistle. I'm not sure which species they were talking about, but I was impressed when he said that it could punch through just about anything. In fact, Neil shared a story about driving over a three-inch bed of newly-laid asphalt and seeing thistle plants poking up through it.
 |
| This garden bed was heavily mulched with hay, and no other weeds could be seen but for this lonely thistle. |
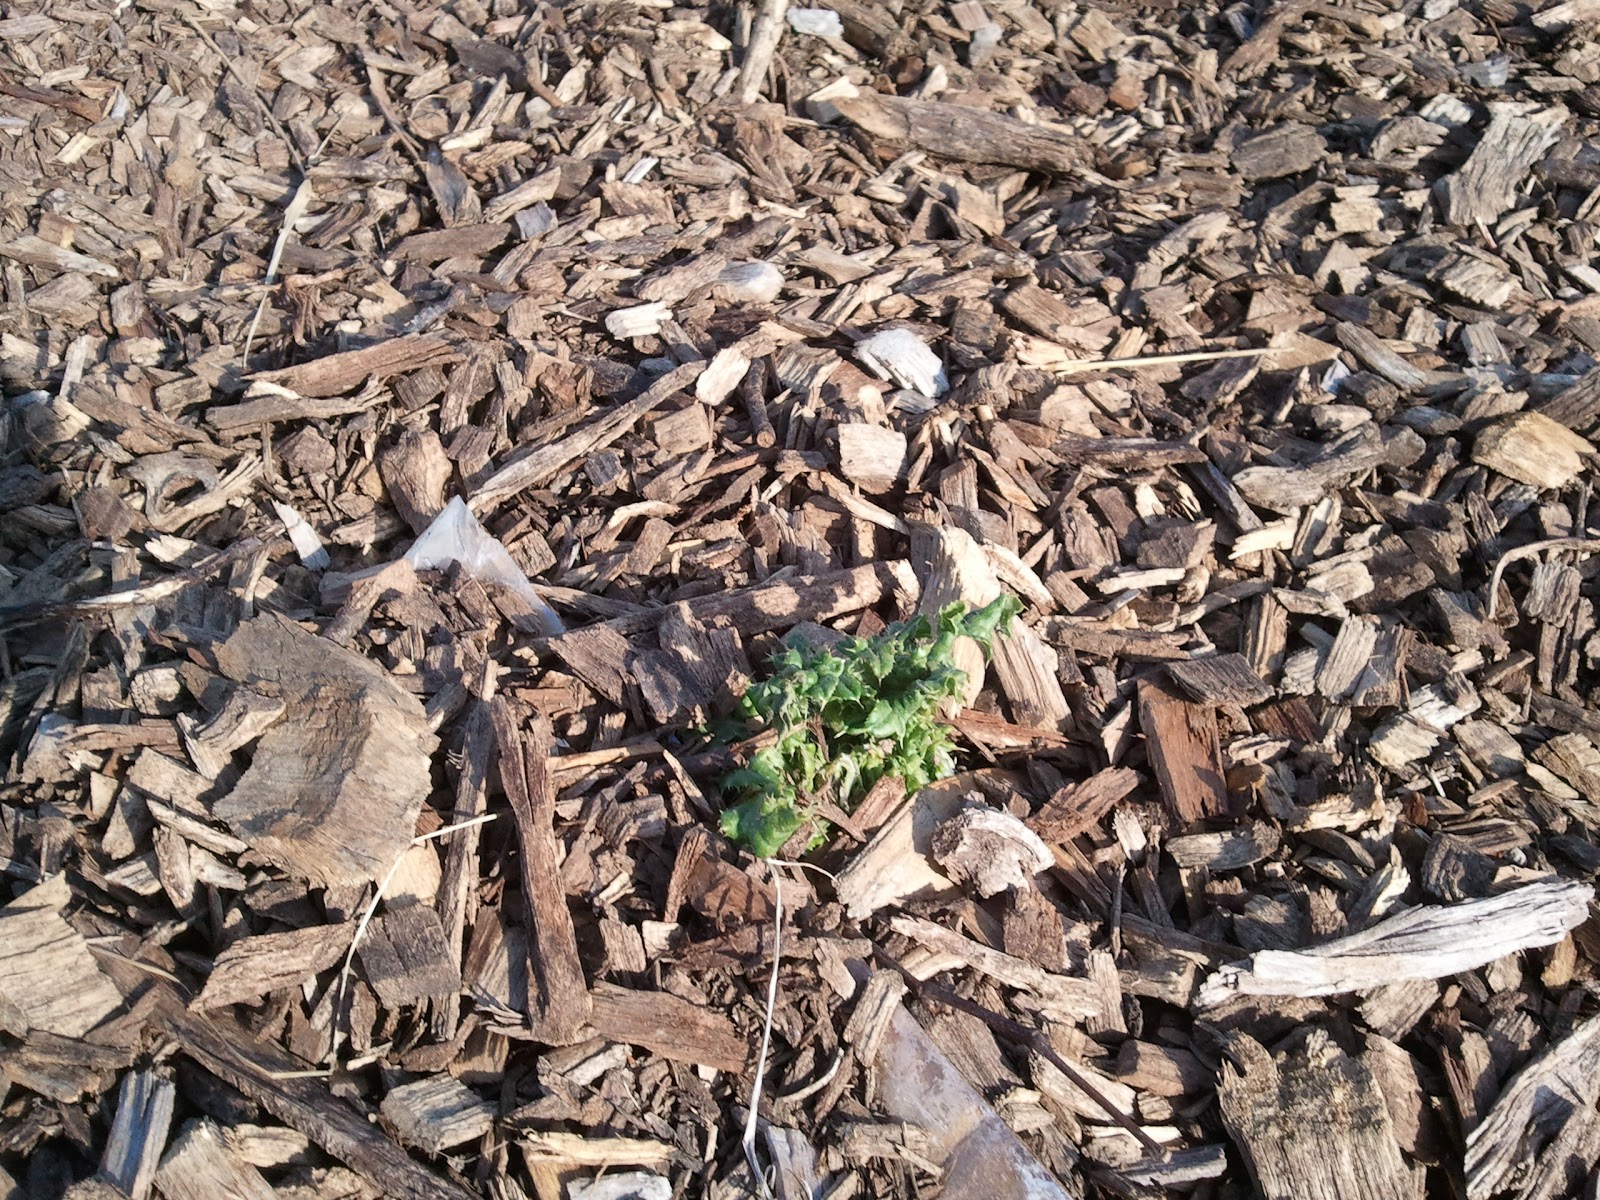
A few weeks ago, a bunch of American Family community gardeners flattened a bunch of cardboard and covered it with inches of wood mulch. It now comes as no surprise that despite our efforts, thistles are poking through. These will need to be dug out by hand.
 |
| This thistle worked it's way through a cardboard barrier and wood mulch. The garden's plot and path monitors have their work cut out for them. |
Quick plug, I love that you're reading my blog, thank you. Do yourself a favor and make it easy to get alerts when new entries are posted - check out the options in the right column. You can subscribe in an RSS reader (really simple syndication), subscribe via email or join the site using Google Friend Connect. It's easy to sign up and just as easy to unsubscribe if you tire of talk about vegetables and raised beds :)
Monday, April 23, 2012
Rethinking rain barrels in the community garden
I have written about the benefits of rain barrels several times in my blog, so I am no stranger to hauling water from barrel to garden. (Farmer's note, hauling water comes as second nature from a time when we had one hydrant far away from the family garden or animals thirsty for a drink).
I admit that when I saw two rain barrels installed in our community garden, I thought it was a quaint nod to sustainability but would probably not be used considering how close they were to the virtually unlimited water supply that was well-distributed via an underground piping system and six spigots throughout the garden, eliminating the need to carry water. I've changed my tune, however, now that I planted seeds a month before the garden water supply is functional.
During our early April garden cleanup, I installed the rain barrels. A week later, I planted seeds and didn't need to wonder where I'd get water. This week I soaked in some transplants from the herb garden I am leaving when I move at the end of April. So even if the barrels aren't heavily relied upon during the summer when water is aplenty, for at least a month in the spring, they are welcome source of water.
I admit that when I saw two rain barrels installed in our community garden, I thought it was a quaint nod to sustainability but would probably not be used considering how close they were to the virtually unlimited water supply that was well-distributed via an underground piping system and six spigots throughout the garden, eliminating the need to carry water. I've changed my tune, however, now that I planted seeds a month before the garden water supply is functional.
 |
| One of two rain barrels in the American Family community garden. |
With this year's particularly early spring, I planted radishes, cilantro, arugula and snap peas a good month before the water in our garden would be connected to the nearby fire hydrant. While it hasn't been a particularly dry spring, I wanted to be sure my seeds and later seedlings had plenty of water to thrive, which is where those rain barrels came in handy.
 |
| Radishes hiding under row cover - keeps bugs out, heat and moisture in. |
During our early April garden cleanup, I installed the rain barrels. A week later, I planted seeds and didn't need to wonder where I'd get water. This week I soaked in some transplants from the herb garden I am leaving when I move at the end of April. So even if the barrels aren't heavily relied upon during the summer when water is aplenty, for at least a month in the spring, they are welcome source of water.
 |
| Sprouting snap peas. |
 |
| I soaked in transplanted anice hyssop, summer savory, greek oregano and garlic chives (not in the photo). |
Sunday, April 8, 2012
What's coming up in the community garden?
On Friday, April 6, I visited the American Family community garden to see what was popping out of the ground. Because this is the second year of the garden, it was very possible that some perennial or fall-planted seeds could be coming up, and indeed, several beds had delicious things to look at.
 |
| The first spring arrival I discovered were the blossoms on the North Star cherry. They were already past their prime and starting to fall off. |
 |
| The blossoms on the garden's Honeygold dwarf apple tree were just starting to open. |
 |
| One of the more colorful early arrivals was a large patch of violets. This gardener may think twice about letting them spread any further. |
 |
| This looks like a variety of red leaf lettuce that I'm guessing sprouted from volunteer seeds from last year's crop. |
 |
| Did you know that the beautiful purple flower of a chive is also edible? You can already see some flower pods starting to swell in the lower right part of the plant. |
 |
| This is a crop of winter rye put in last autumn to overwinter and provide a green manure this spring. This patch looks particularly large because it is neighboring plots that two people are gardening together. |
 |
| If I'm not mistaken, this is a strawberry plant. |
 |
| Onions or garlic, I'm not sure. But they're definitely planted in a row. |
 |
| Rhubarb gets the prize for largest leaf this time of year. |
Friday, April 6, 2012
Do it yourself (and easy!) garden trellis
A 10x10-foot garden is a tight space even with the efficient "keyhole" design that minimizes the amount of pathways. So like any valuable piece of real estate like, say, Manhattan, the only thing to do is go up, and garden trellises can help a small footprint produce a lot of food in the air.
This year I am going to grow snap peas and a variety of climbing tomato on trellises. My friend Diane showed me a sturdy by simple to build trellis design that I want to share here. With these instructions, some basic tools, you can build and install one of these in less than an hour.
Get these into your garden now and plant some peas!
You can get all of this at most hardware stores. This will cost about $50 up front, but all the metal materials can be used for years and years, and the netting can be resused for a couple of years.

Cut all three sticks of electrical conduit and the two sticks of rebar in half with the hacksaw.

To create the top cross piece, attach two 90-degree pieces to one piece of conduit and tighten it down.

Set the assembled cross piece with corners down on the ground and mark where you want the uprights to be placed. Drive the rebar half way (or so) into the ground.

Assemble the trellis by attaching the uprights to the cross-piece assembly.

The assembled trellis will be very light, and you'll be able to slip the uprights down over the rebar. A second pair of hands helps :)

Cut the trellis netting to size and secure it to the cross piece and uprights with some twine or the nylon zip ties. One net will make two or three 5' trellises.

Snap peas are planted on the left and the climbing tomato will be on the right.
This year I am going to grow snap peas and a variety of climbing tomato on trellises. My friend Diane showed me a sturdy by simple to build trellis design that I want to share here. With these instructions, some basic tools, you can build and install one of these in less than an hour.
Get these into your garden now and plant some peas!
Material list to build two 5'5" tall and 5'5" wide trellises
You can get all of this at most hardware stores. This will cost about $50 up front, but all the metal materials can be used for years and years, and the netting can be resused for a couple of years.
- (3) 10' sticks of 3/4" EMT electrical conduit ($3.45 each)
- (4) 90-degree EMT elbows ($3.64 each)
- (8) 3/4" connectors with set screws ($3.48 for a pack of 5)
- (2) 10' sticks of 1/2" re-bar (reinforcing bar) usually found in the building supplies section of the store ($5.20 each)
- a mallet or sledge hammer
- a screwdriver
- a hack saw
- trellis netting (found at most garden centers) ($10 ??)
- twine or nylon zip ties

Cut all three sticks of electrical conduit and the two sticks of rebar in half with the hacksaw.

To create the top cross piece, attach two 90-degree pieces to one piece of conduit and tighten it down.

Set the assembled cross piece with corners down on the ground and mark where you want the uprights to be placed. Drive the rebar half way (or so) into the ground.

Assemble the trellis by attaching the uprights to the cross-piece assembly.

The assembled trellis will be very light, and you'll be able to slip the uprights down over the rebar. A second pair of hands helps :)

Cut the trellis netting to size and secure it to the cross piece and uprights with some twine or the nylon zip ties. One net will make two or three 5' trellises.

Snap peas are planted on the left and the climbing tomato will be on the right.
Tuesday, April 3, 2012
Starting succession planting seeds
One of the things I learned from the classes I took through Madison FarmWorks is the benefit and importance of keeping good garden records. So this evening, I started writing in a notebook what I planted over the weekend, and then thought this could be an interesting (even useful?) blog post.
Considering the early spring we have had, the soil has been able to be worked pretty early, and so I went to my community garden plot and and planted four things on March 31.
The first thing I did was check on my fall-planted garlic. I've been watching the leaves come up during the last few weeks, and one species is not doing nearly as well as the other two. While all are growing, the Susanville variety is yellowing and not nearly as vigorous as the Duganski or the German porcelain. I don't know enough about garlic to know what accounts for this, but one of my fears is they I added something to the soil that isn't agreeing with the garlic. Last autumn Jay and I augmented the soil with mature horse manure, finished compost and a light sprinkling of wood ash. I'm really hoping the garlic will simply grow out of it.
 |
| You see how the two rows on the left are yellowed and not as vigorous as the front two rows. |
I planted a five-foot row of Sugar Daddy snap peas and added some granular legume inoculate, a beneficial soil bacteria that improves the health of plants and soil and fixes nitrogen to the roots of the peas. I then planted a 5-foot row of French breakfast radishes, a dozen cilantro seeds and a 3-foot row of arugula, or rocket salad. This year I'm going to get serious about succession planting and the radishes, cilantro and rocket are the first in the succession for this part of the garden.
The radishes mature in 25 days, and after they come out I'm going to put in a border of alyssum, a cute little fragrant flower that is supposed to cascade, I'm hoping down over the planks of my raised bed. I'll keep re-seeding the cilantro until the eggplant that are going to be planted nearby finally shade it out. Same goes true with the arugula, I'll keep harvesting from it until the neighboring eggplant shade it out or it gets bitter from the summer heat.
I then covered the rows with remay, or row cover. This will help keep a little heat in overnight, protect the soil when it rains and keep critters from eating the seeds. Later on, it will keep flea beetles off the radishes.
According to the handy-dandy vegetable planting calendar from Madison FarmWorks, starting April 15 some other succession plantings can include beets, carrots, kale, spinach and turnips. If you're at all interested in buying this wonderful little planting calendar, it's $5 and you can order it online at www.communitygroundworks.org.
 |
| The flamingo won't eat the pea seeds, but other birds will. The row cover will protect the seeds from critters, heavy rain and will protect seedlings from the sun and cold nights. |
Sunday, April 1, 2012
American family community garden expands, builds community
I have some great news to share with those who have been following my ongoing adventure in community gardening where I work at American Family Insurance in Madison Wisconsin. In spring 2011, the company hired Community GroundWorks to design and build 56 plots, and 55 of them were worked all summer. In the autumn, we surveyed our Madison-based employees to see if there was demand for more plots. The overwhelming response indicated that indeed, there was. The company's sustainability area was interested in supporting a garden expansion, and we worked throughout the winter on the details.
I'm pleased to announce that in April, we will break ground to add 62 new plots. Additionally, we will till ground for what we are affectionately calling the “pumpkin patch,” a community effort to raise summer squash, zucchini, winter squash and pumpkins (pie and jack-o'-lantern) for gardeners and for local food pantries. More on that in another entry.
Before we could get Community GroundWorks in to plow the land, we had some heavy labor to do, and I couldn't be more proud of our gardeners after our recent Saturday workday.
We needed to move a sizable pile of wood chips left over from last year's delivery. And we had a messy compost pile to move to make way for the new plots.
On Saturday, March 31, 25 people showed up with wheelbarrows, pitchforks, shovels and rakes, bundled up against the cold and damp wind.
In just one hour, we did an amazing amount of work. What I am particularly happy about is that gardeners from the existing plots pitched in to help prepare the area for the expansion. Early in the day my my co-worker Connie shared why she signed up for a plot and showed up for the work day; "I'm mostly a solo gardener, but I wanted to give this community thing a try." I think many of the people who showed up on a blustery March morning share this sentiment.
Thanks Connie and the 23 other people who came out to expand the community garden to include more people.
The photos below show what we did.
Thanks Connie and the 23 other people who came out to expand the community garden to include more people.
The photos below show what we did.
 |
| First, rake back the thin layer of wood chips from last year. |
 |
| Next, lay down cardboard. Some of these massive boxes were delivered from Rutabaga in Monona. Thanks Rutabaga! |
 |
| Add wood chips from the pile we had to move. |
 |
| A beautiful new path with no weeds poking through. We will add a deeper layer of new wood chips later this spring. |
 |
| The first person tackling the compost pile. |
 |
| Back and forth to the new compost pile, a great distance away from the current file and the garden plots. |
Subscribe to:
Posts (Atom)